Today we are making glittery spider webs! You can put them on the wall, window or doors. I will show how to make glitter spider some other day to match your web.Here are examples of my websies and spideries from last year. You can make them any color you like or not use the glitter. I use because it makes them pop more and glitter looks awesome at night.
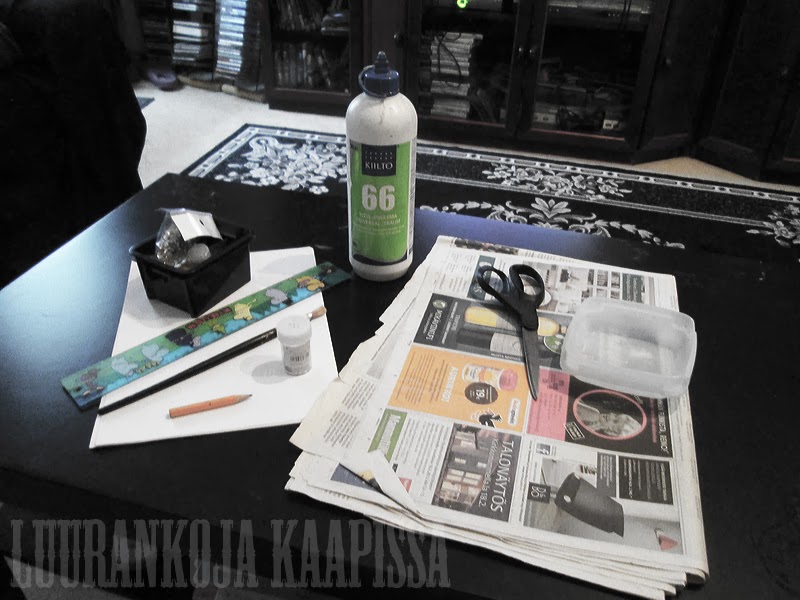
So let´s get glitter hands! Here is what you need.
Scissors,
printer paper (Or any kind of paper.. thin paper is much more easier to cut put too thin paper will rip so printer paper is great choice and it is very cheap.
Scrapbook paper
works beautifully too. Especially a dark-distressed vintagey scrapbook
paper.), glue,
where to put glue,
paint brush,
pencil,
ruler,
glitter (or paint or both)
01. Cover your table with paper.
02. First, take a sheet of printer paper, and fold it in half, with the open side facing up.
03. Once you have folded it in half, fold it in half again, but only crease it at the bottom.
04. Next, fold the bottom right hand side up, so that you create a "V" point at your center mark.
Now, take your left side of paper, and fold it towards the back, lining up the edges.
Your paper should now make a "V" shape with a funny top.
We want to cut off the funny top.
So, make a horizontal line across your paper about here...
Your paper on side
Now, cut the funny top of the paper off, to create a true "V"...
And now, you have a true "V" shape.
01. The next thing we will do is fold our "V" in half.
Doing this will create a folded side, and an open side...
02. Face the open side to the right, and the closed/folded side to the left. This is how it will show on the side.
03. Next, we shall begin defining where we will make our cuts.
Take a pen or pencil and draw a line that starts in the upper right hand corner, and swoops down to the left.
This is the cut that will create the outer spider web shape.
04. Cut that piece off...
05. The next thing you will do is draw (as many you want) long rectangles from the right side, to the left. However, you must not cut into the left folded side, as it holds everything together. So, make sure your rectangle ends a little before the left hand fold.
Tip: The thickness of your
cut rectangles determines how delicate your final spider web shall be.
Remember, thicker cuts equal less paper, and therefore more delicate
spider webs. You'll see.
Let's keep going...
01. So, after you have cut out all rectangles...
02. Make a tiny snip at the bottom, like so... The final bottom snip creates the center of your spider web. The larger
the snip, the larger the center opening of your finished spider web.
03. & 04 Next, open up your spider web...
It's okay if it isn't perfect because the paint and glitter will fix it all :)
YAY! A spider web. Woo hoo!
This is how your web will look just half open
Fully open!
Now glitter time..
I use glue that you can use in wood and almost everything else, it is good for all kinds of crafts. And I use my normal paint brush. I mix a little bit glue and water together, that is a tip if you are slow worker like me, glue gets sticky but not dry as fast. I use these little cans which has top on them, if I make too much glue I can use it later on.
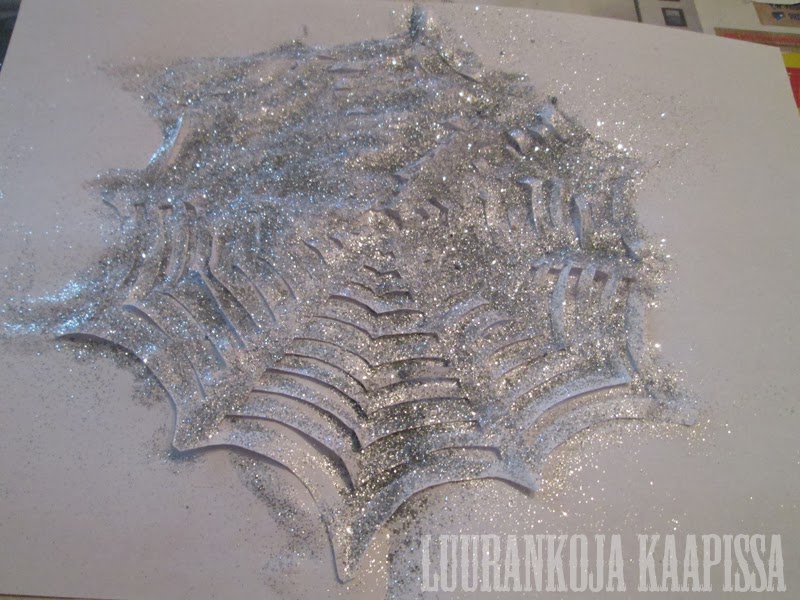
Glue the whole web or parts of it (dap your glue on it, that is one way not to make your web not getting glued on the other paper under it) and shake glitter top of your web. Take it gently of the under paper so it doesn´t rip. Let your web dry and you can put some lacker on it, glitter will stay better. And you are done!
Tip: The white paper under the web was also fold in half, when you lift your web away, the glitter can be used again by folding the paper and shaking the glitter back in the jar..
Finish spider web! I would like to see your gothic "snow flakes"!
/Leena


3 kommenttia:
Tää tuli kun tilauksesta, koristelen täällä justiin halloweenkrääsää ympäriinsä :D Kiitos ♥
Söpöjä! ♥ ☠ Mieti minkälaisia asukkeja noissa lymyäisi, helmiäisenhohtoisia maitomaisen valkeita, kämmenen kokoisia hämähäkkejä!
Lady Selena: Mainiota!
Mearra: Enpä sitten ehtinyt tehdä hämiksiä, ensi vuonna sitten!
Lähetä kommentti